Product pages make up the main content of your Shopify store. A product page has to work hard – after all, it needs to entice potential customers into buying. With crisp images, a clear layout, and a bit of personality, you can create a page that will make customers fall in love with your product.
The question is, how do you do this in Shopify? In our guide on how to build a Shopify product page, we’ll show you how much customization Shopify gives you and how to find the code for your product pages. We’ll also take a look at some Shopify page building apps, giving you an example of how apps can help you to build the product page of your dreams – and to (hopefully) grow your eCommerce business in the future.
First, let’s take a look at how you can build a product page without apps.
How to Build a Page Without Apps
You don’t necessarily need an app to customize your Shopify product pages. Shopify do have a selection of themes to choose from that look great, and they allow a certain amount of customization – let’s take a look at how much we can achieve using Shopify’s basic settings.
Step One: Upload a Product
Firstly, make sure you have a product uploaded.
This sounds obvious, but it’s easier to see how the product pages will look when it has your own products on it, as opposed to example products.
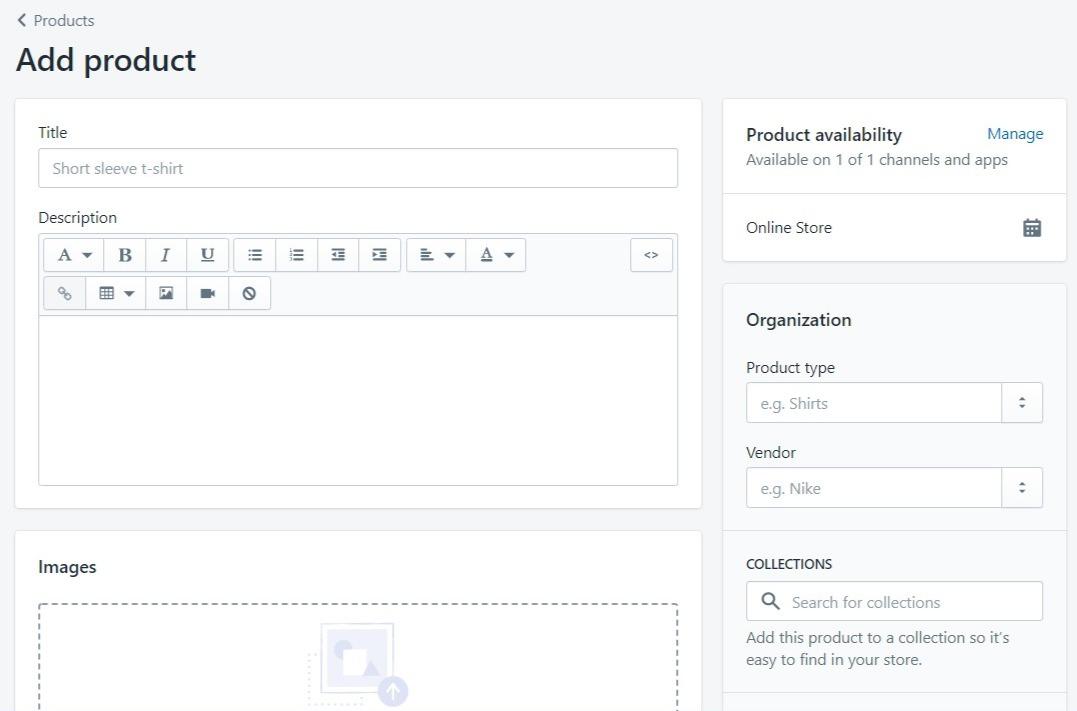
The information you input here will make up the content of your product page. So, if you want videos, images, or detailed descriptions of your product, this is the time to do it. Shopify gives you a bit of customization here, with a choice of fonts. Clear images and a well-written product description will make a huge difference here, so it’s worth putting time and effort into this stage.
Once you’ve added your first product, it’s time to look at themes.
Step Two: Pick a Theme
Next, head over to Online Store > Themes > Theme Library. You can choose a free theme or pay to unlock a paid theme.

Your theme will determine how your entire store looks, not just the product pages. Whether you want to pay for a theme is up to you. Here’s a quick idea of the types you can get:

Free Themes
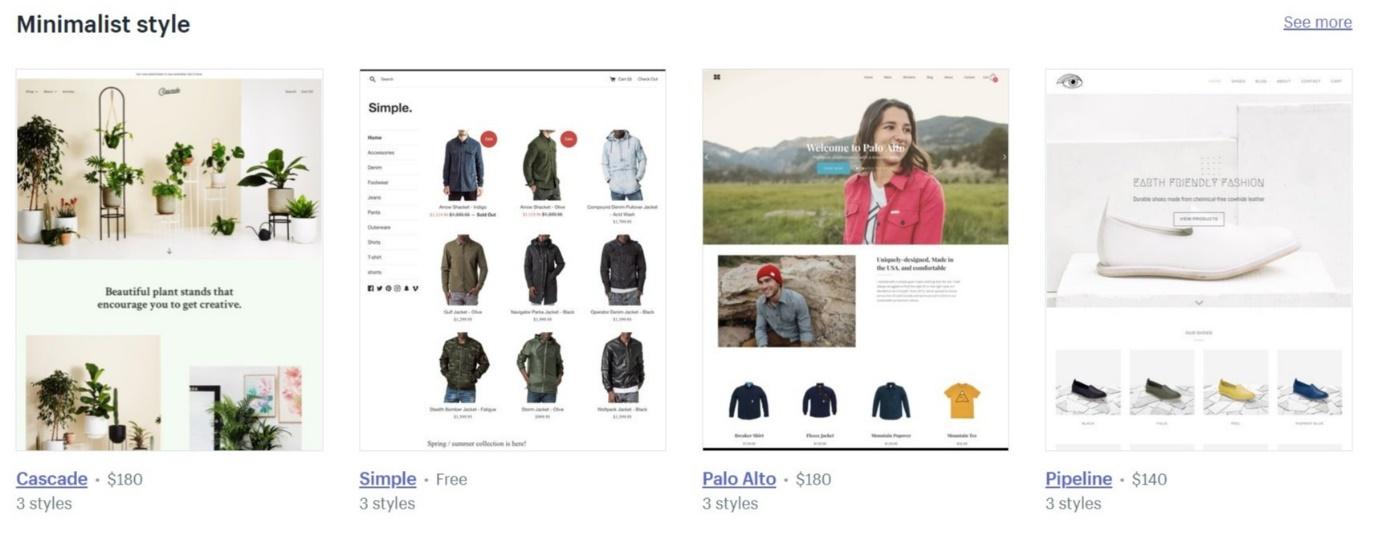
Paid Themes
You should be able to get a good idea of which theme will best fit your brand, based on the demo stores that Shopify provide for you to look at.
Step Three: Basic Customization
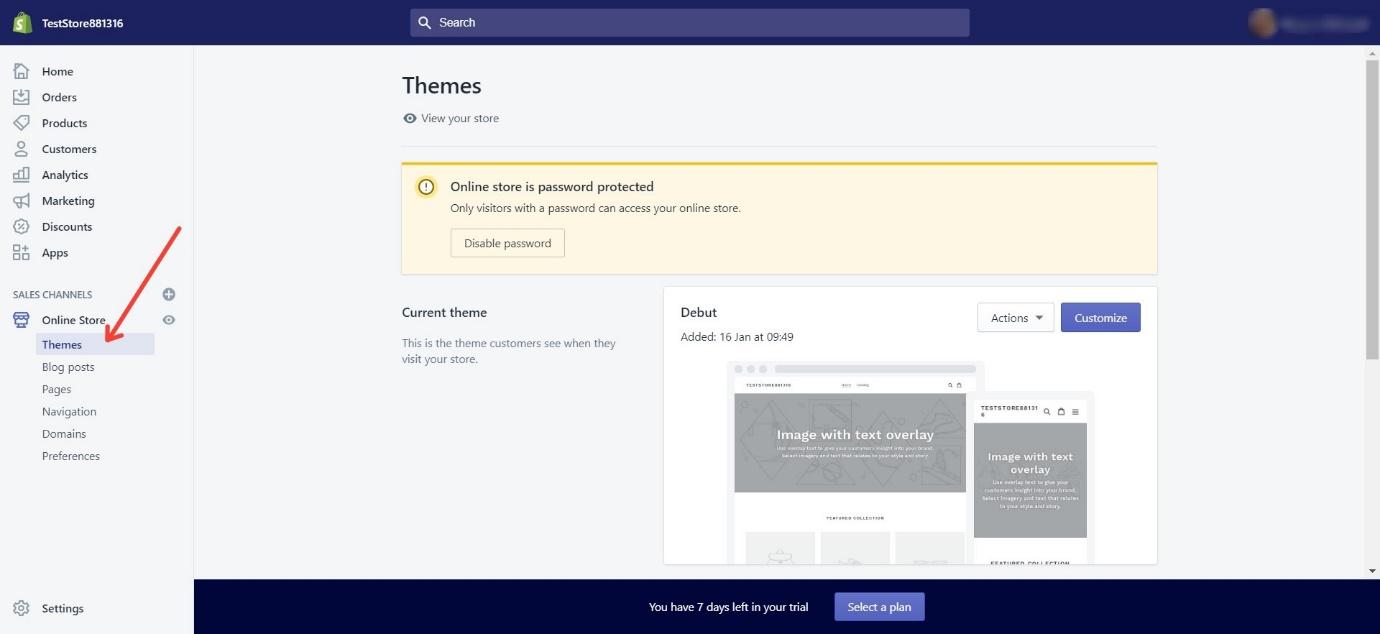
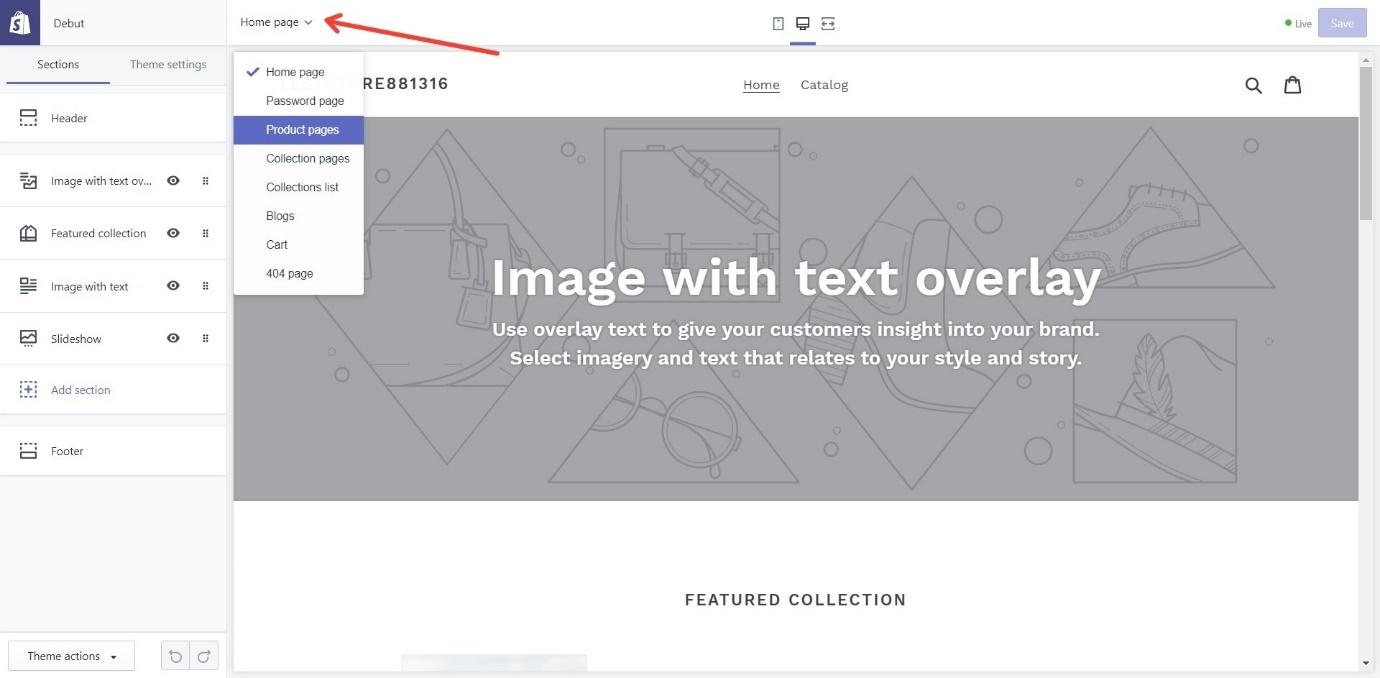
Go to Online Store > Themes > Current Theme.
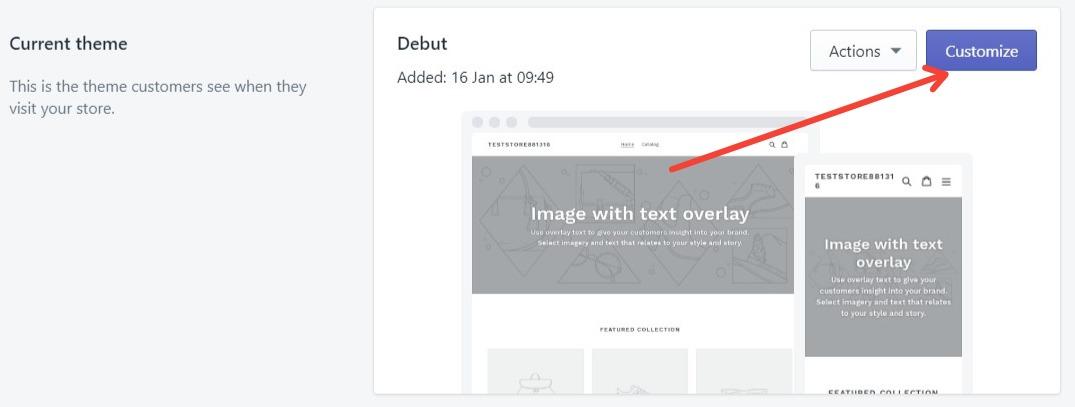
Click ‘Customize’ to bring up basic theme customization. At the top you should see a button that says ‘Home Page’. Click on that to bring up a drop-down menu of pages for your store and choose ‘Product Pages’.
Our product page looks like this:
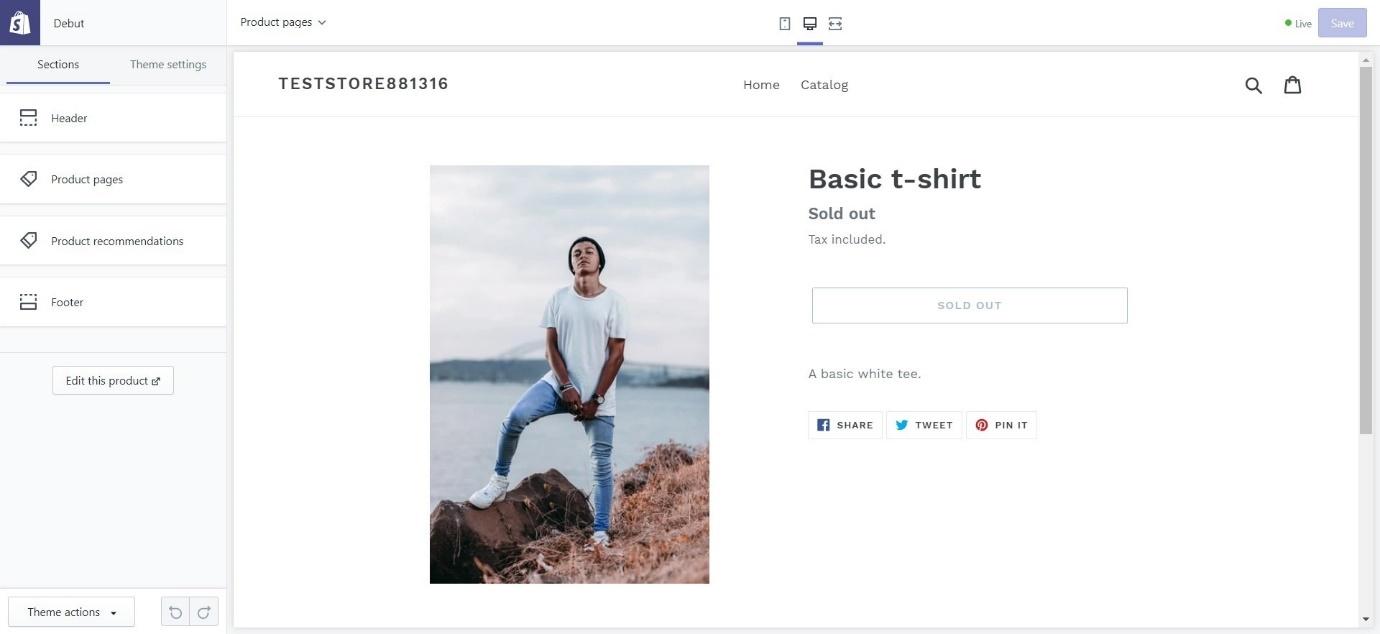
The bar on the left represents the amount of customization you can get at this stage. You can play around with a few things here.
Header
This section allows you to customize the header which will appear on each page, including your product pages. You can upload a logo, customize the menu, add an announcement bar, and add social media links to your page.
Product Pages
This is where you can play around with your product pages. As you can see, the changes you make will apply to all your product pages, and there’s not a huge amount you can do here:
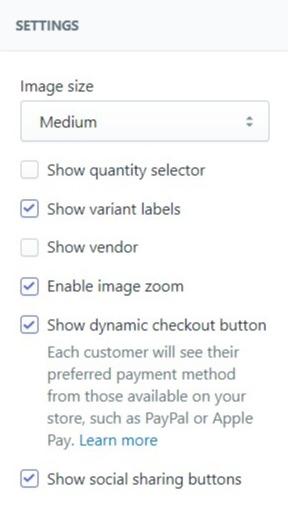
You can change the image size and customize a few small things, like whether you want to enable zoom on your images or show variant labels. There’s not a lot more you can do here.
Product Recommendations
This allows you to turn ‘dynamic recommendations’ on and off (dynamic recommendations will automatically show your customer similar products that they might be interested in).
Footer
This will appear on the bottom of every page in your store. Here, you can add payment method icons, add quick links, add some text, insert a newsletter sign-up form, and add social media buttons.
It’s worth noting here that you cannot edit each product page individually – any changes you make apply to every product that you upload to your store (unless you get a page building app – but more on that later).
As you can see, there’s not a huge amount you can do here – unless you know how to code.
Step Four: Further Customization with Code
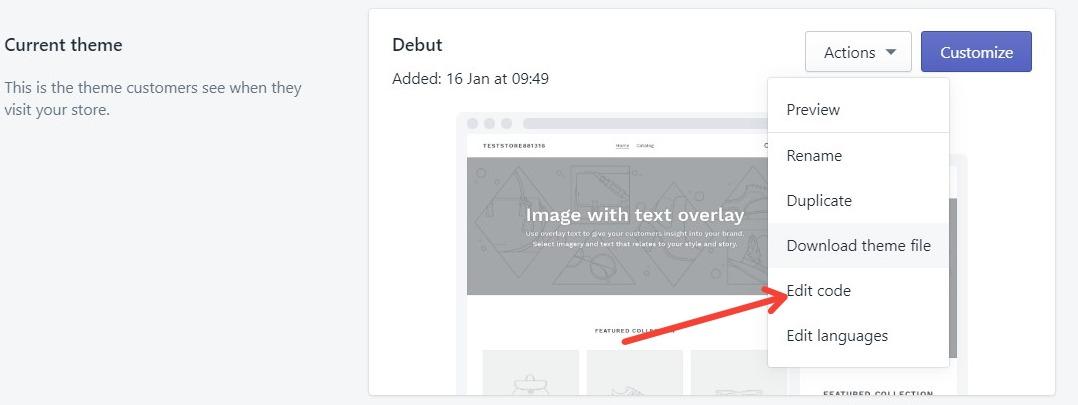
Returning to the Theme page, clicking on ‘edit code’ will bring up this screen:
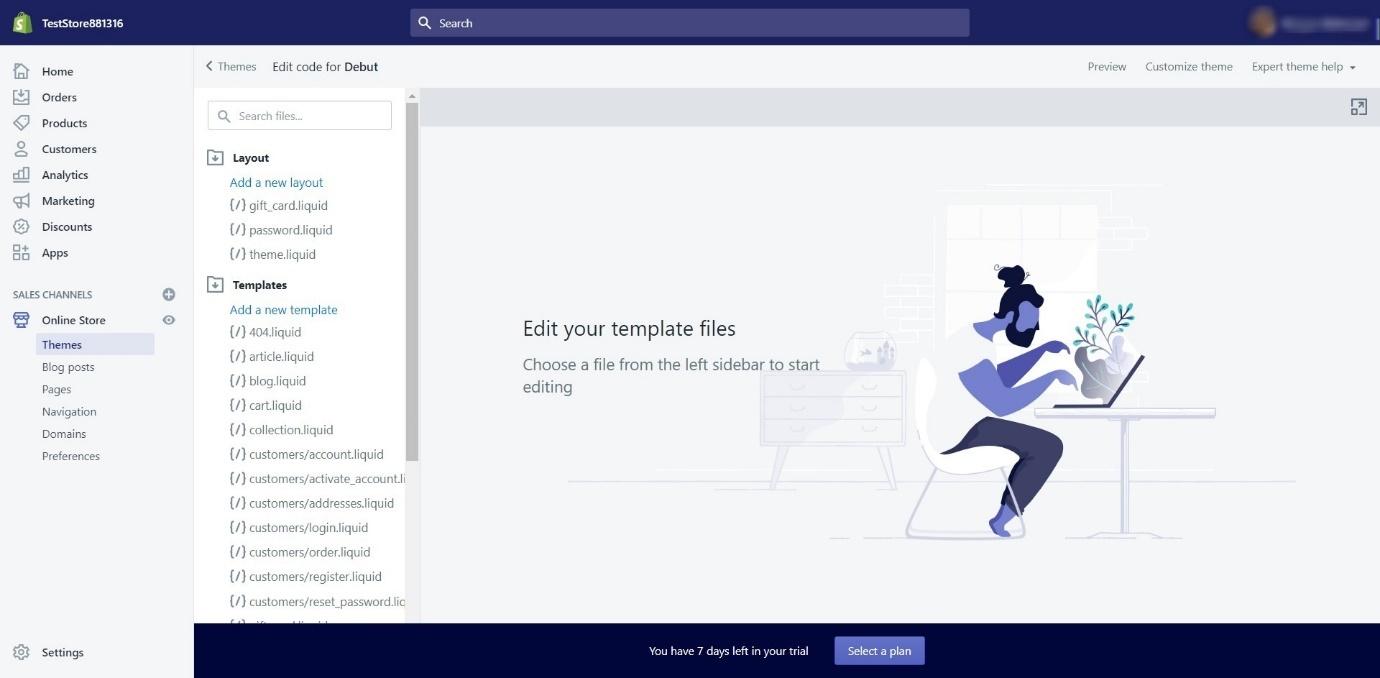
Shopify uses Liquid, HTML, CSS and JavaScript – so you do need to be at least a little familiar with some of these coding languages before you begin.
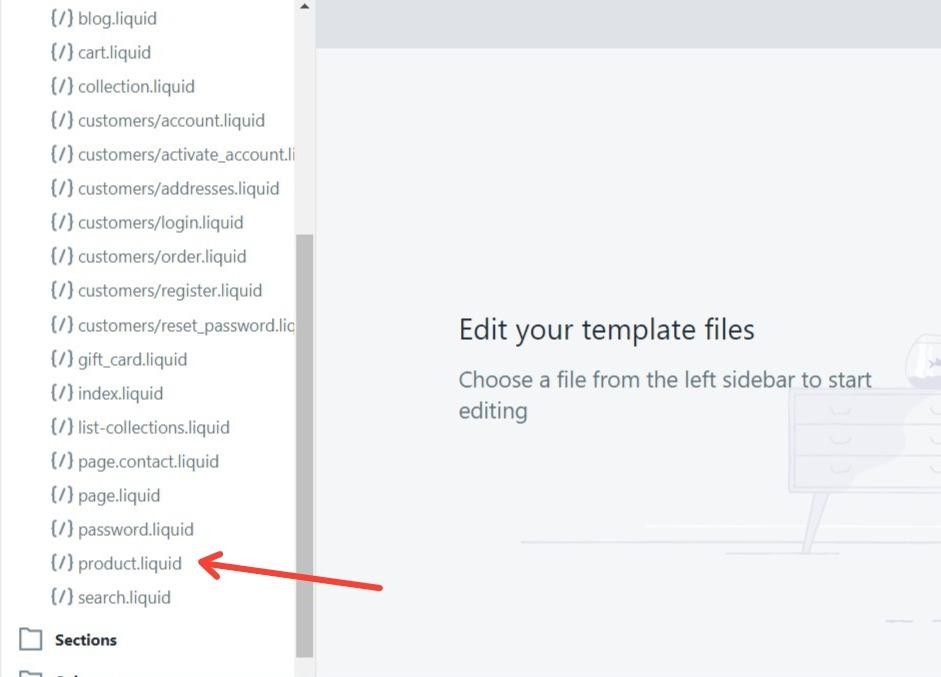
Scroll down through the templates on the left to find product.liquid, which is the file you will need to work on:
This will bring up the code for your product pages:
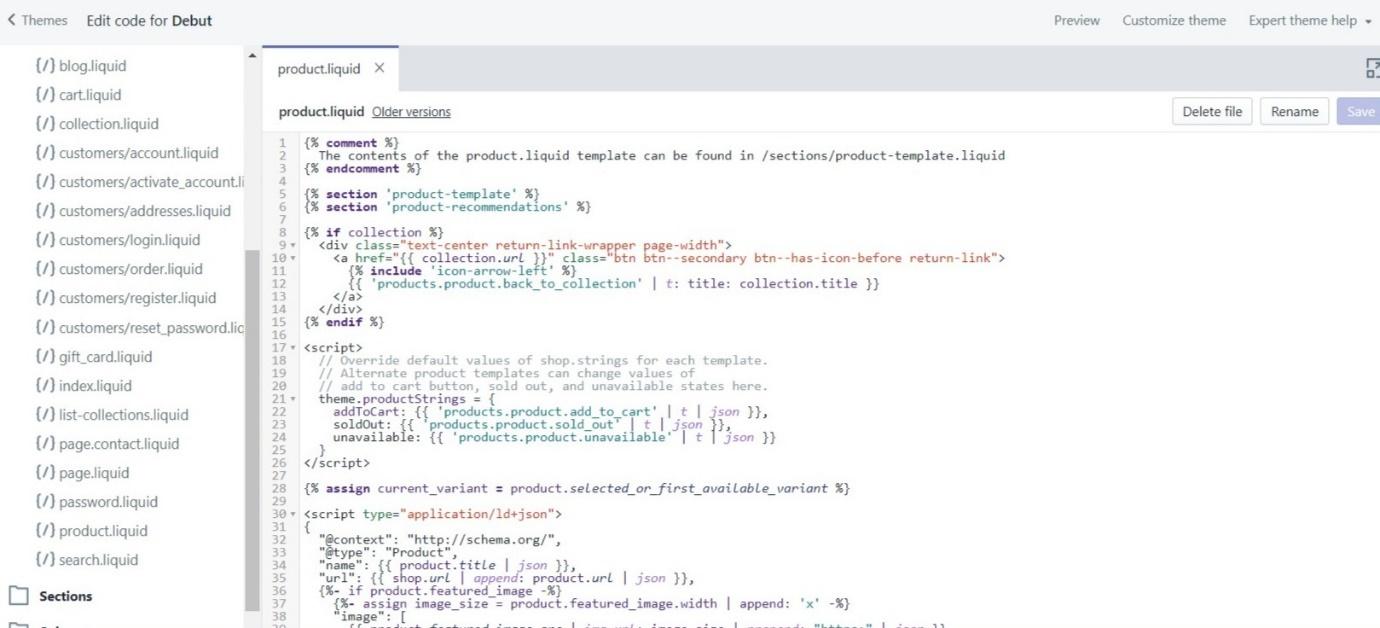
You can click here to find out more information about how to customize your product pages using Liquid. You can play around with the ‘add to cart’ button, variants, and add product page features.
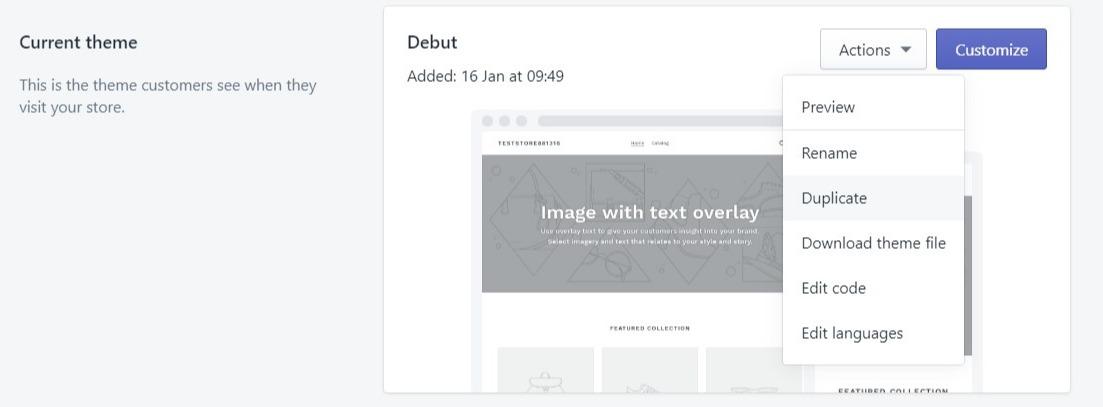
Always remember to make a back-up copy of your theme before you begin to edit. You can do that by going back to ‘Themes’, clicking ‘Actions’ and then ‘Duplicate Theme’:
Of course, if you don’t know Liquid, you might be feeling stuck at this point (although there are some tutorials online if you want to learn, it’s a pretty time-consuming process).
The other option you have is to use Shopify apps to customize your product pages – this is a great way of unlocking further customization without having to have in-depth technical knowledge.
How to Build a Page Using a Shopify App
Shopify has many great apps which will allow you greater control and customization of your ecommerce store. There are a few page building apps to choose from with a variety of pricing options, so you should be able to find one that suits your budget.
We’ll give you a few recommendations and give you a look at how one of the apps, Shogun, can help you to customize your product pages.
Step One: Pick an App
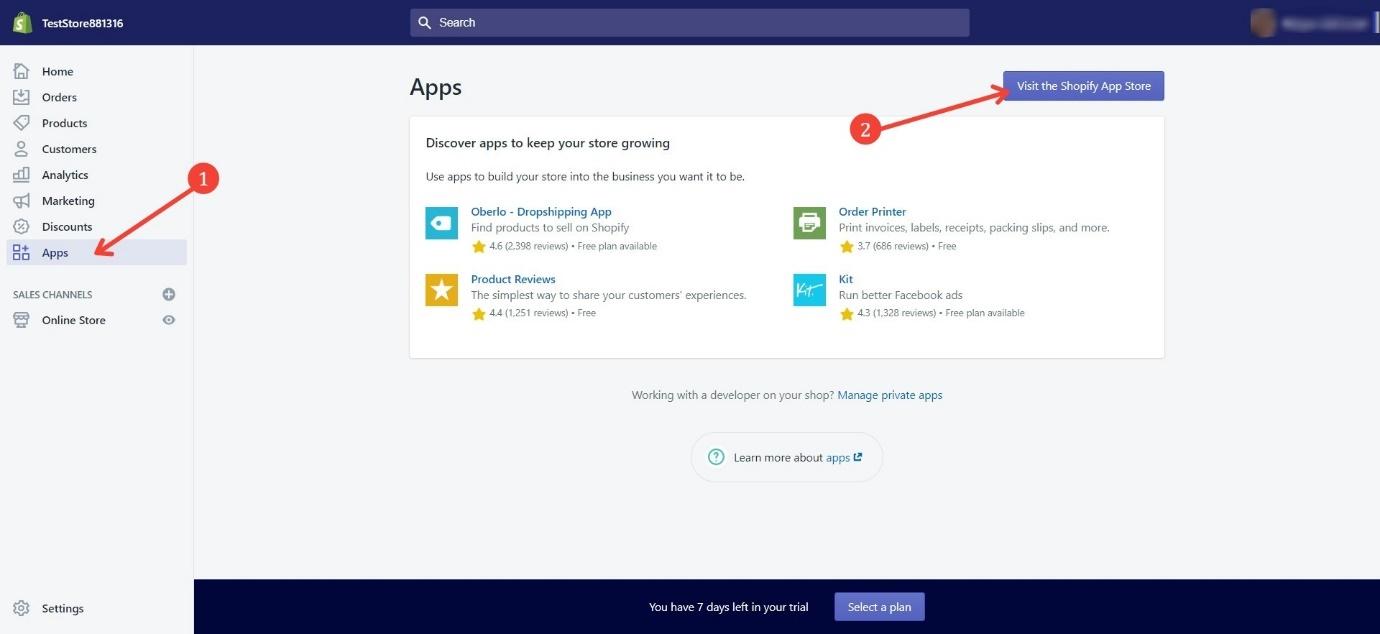
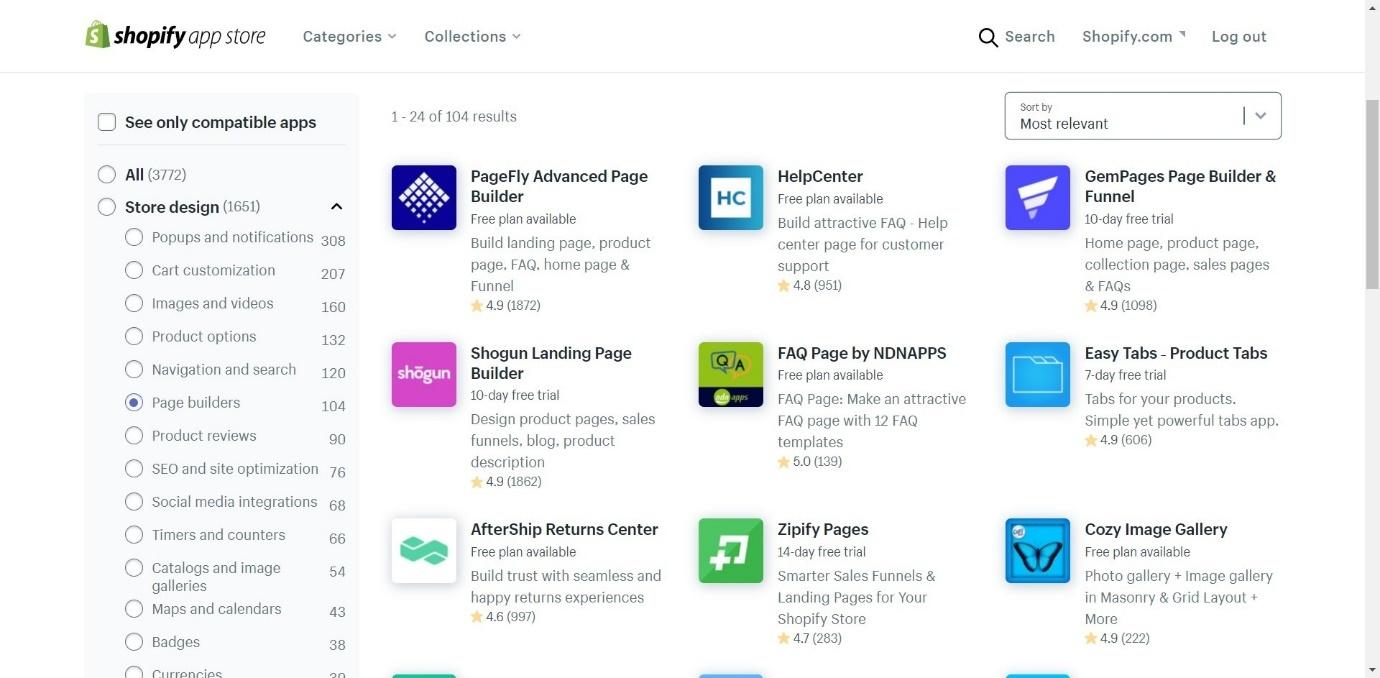
In the main menu on the left of Shopify, click ‘Apps’, then ‘Visit the Shopify Appstore’:
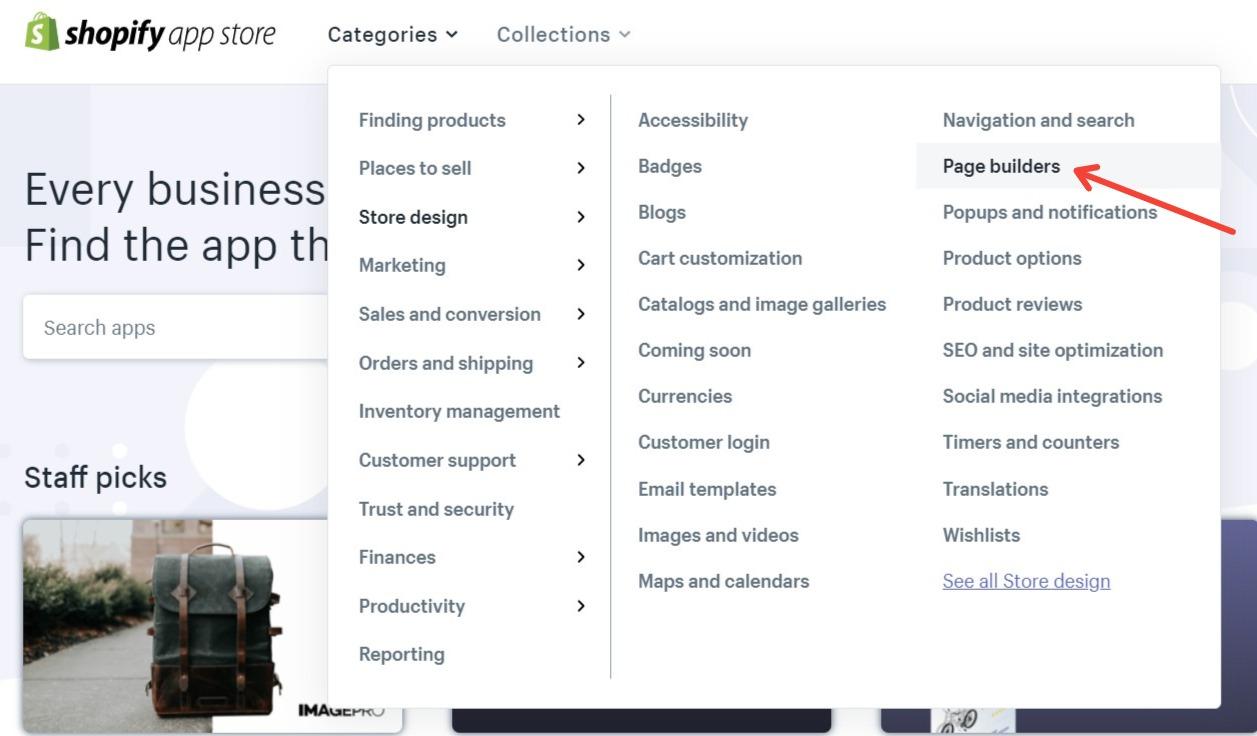
In the Appstore, you click ‘Categories’, ‘Store Design’, and ‘Page Builder’:
This will bring up all the page building apps.
Here are a few we can recommend:
- Shogun – from $39 – $199 per month
- PageFly – from $0 – $29.95 per month
- GemPages – from $15 – £59 per month
- Page Studio – $14.95 per month
- HyperVisual – from $9.95 – $49 per month
All of these are good options, offering you much more page customization than Shopify alone can give. (If you want more details about them, try our guide to the Best Shopify Page Builders, or our PageFly vs Shogun comparison.)
Take a look at the features each one can offer – you might want a basic page builder, or you might want to take advantage of extra features, like detailed analytics or SEO optimization. Many of them offer free trials, so you can play around with them before making a decision.
To install the app, click the ‘add app’ button. You’ll see this:
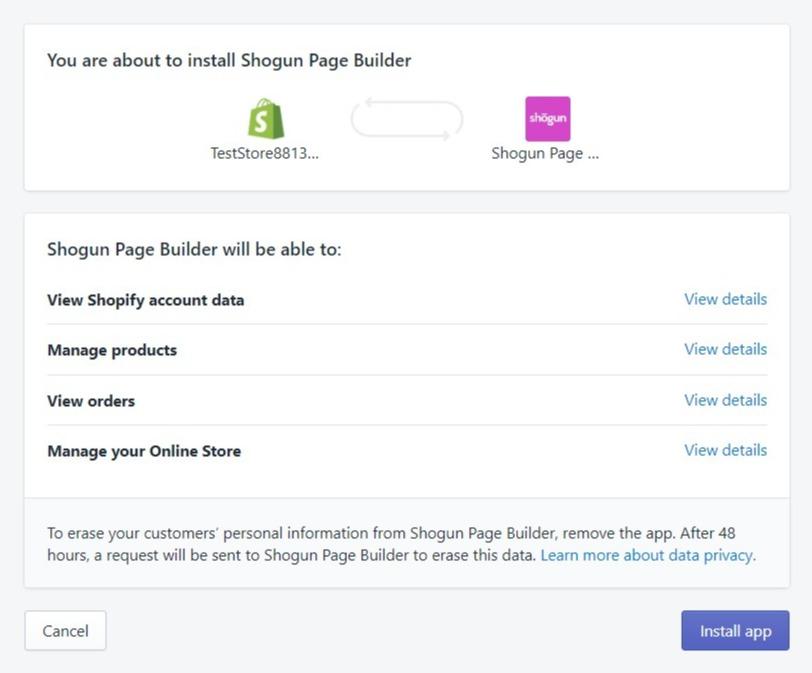
Click ‘install app’, and you’re ready to start customizing!
We’ll be using Shogun as an example here. Each app functions differently, so the following steps will only be applicable to Shogun. However, it should give you a general idea of how apps can give you more possibilities when it comes to customization of product pages.
Step Two: Create Your Product Page
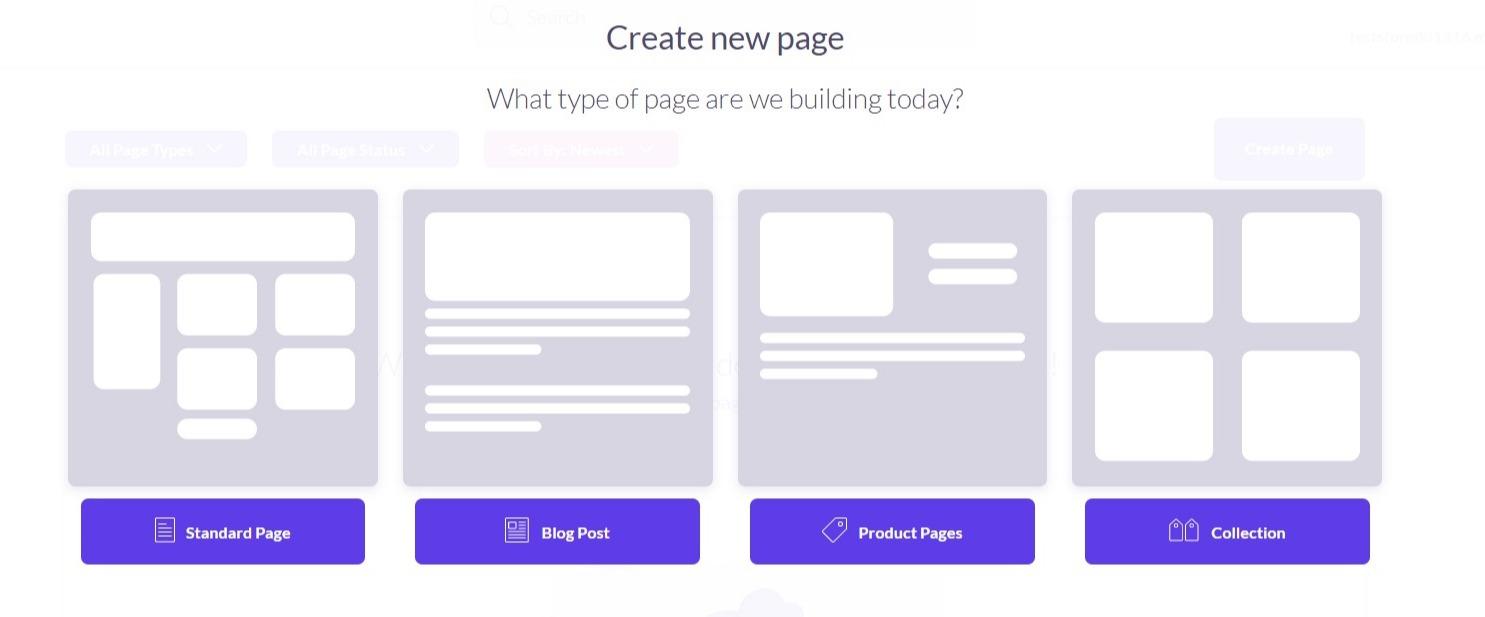 You should be able to choose which type of page you want to create. Usually, these include standard pages (like ‘about’ pages), blog posts, product pages, or collection pages. Obviously, we’re looking to create a product page.
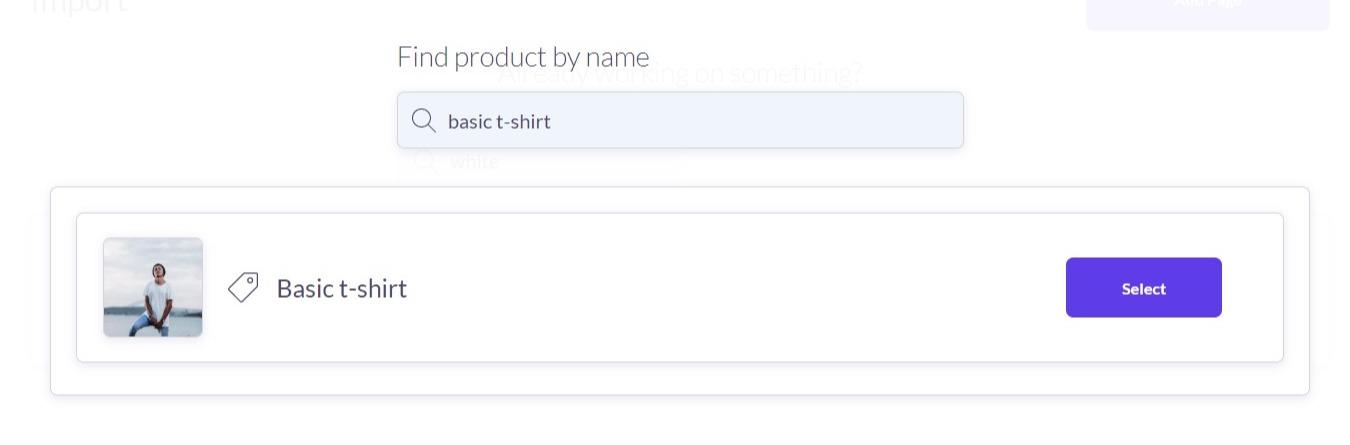
You can search for the product you want to build a page for:
With Shogun, you can create a new layout for your product page or choose the existing layout to further customize it.
Creating a Page from Scratch
Shogun will import your product – this will take a few moments.
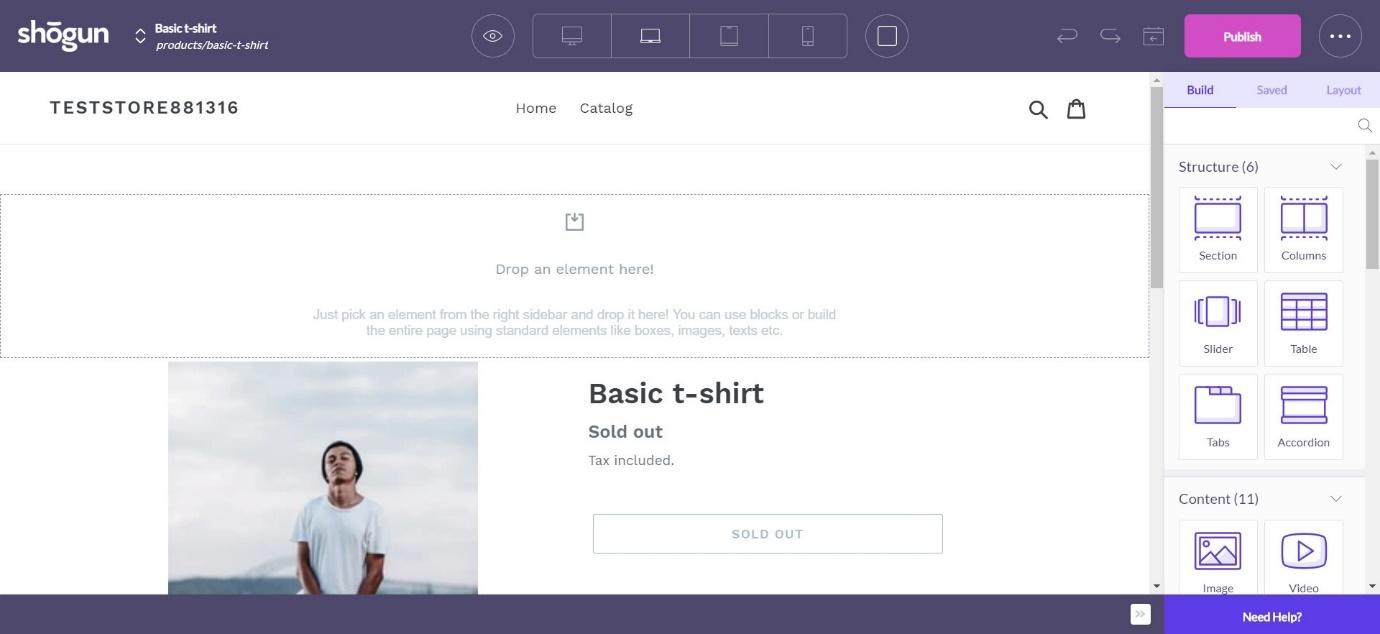
You will then see this:
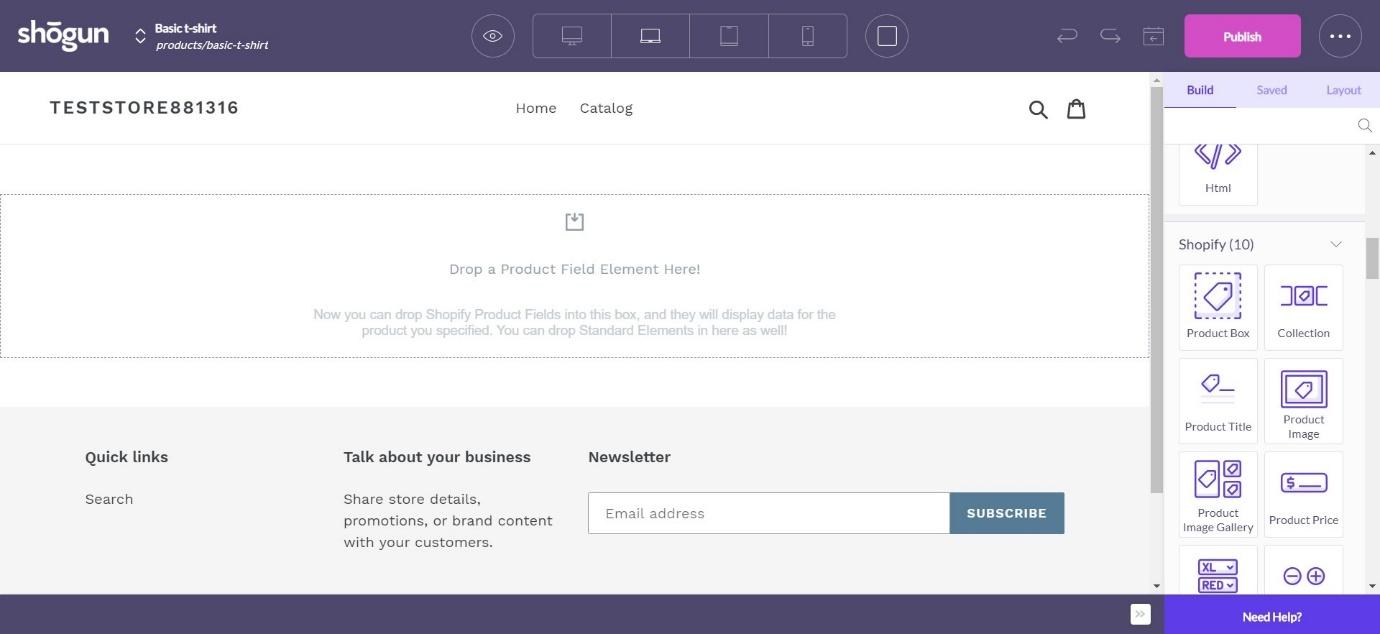
It looks a little daunting, but thanks to the drag-and-drop system (PageFly and GemPages also have similar drag-and-drop editors) it’s easy to use. Just grab a page element and drop it onto the page where you want it. For example, ‘Product Box’ will bring up the following:
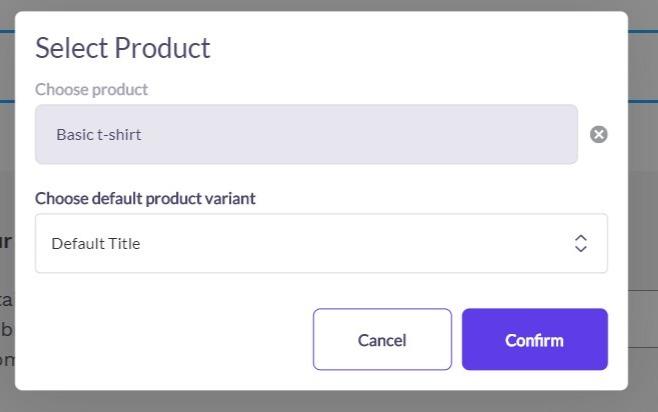
Find the product you want, and then click ‘confirm’.
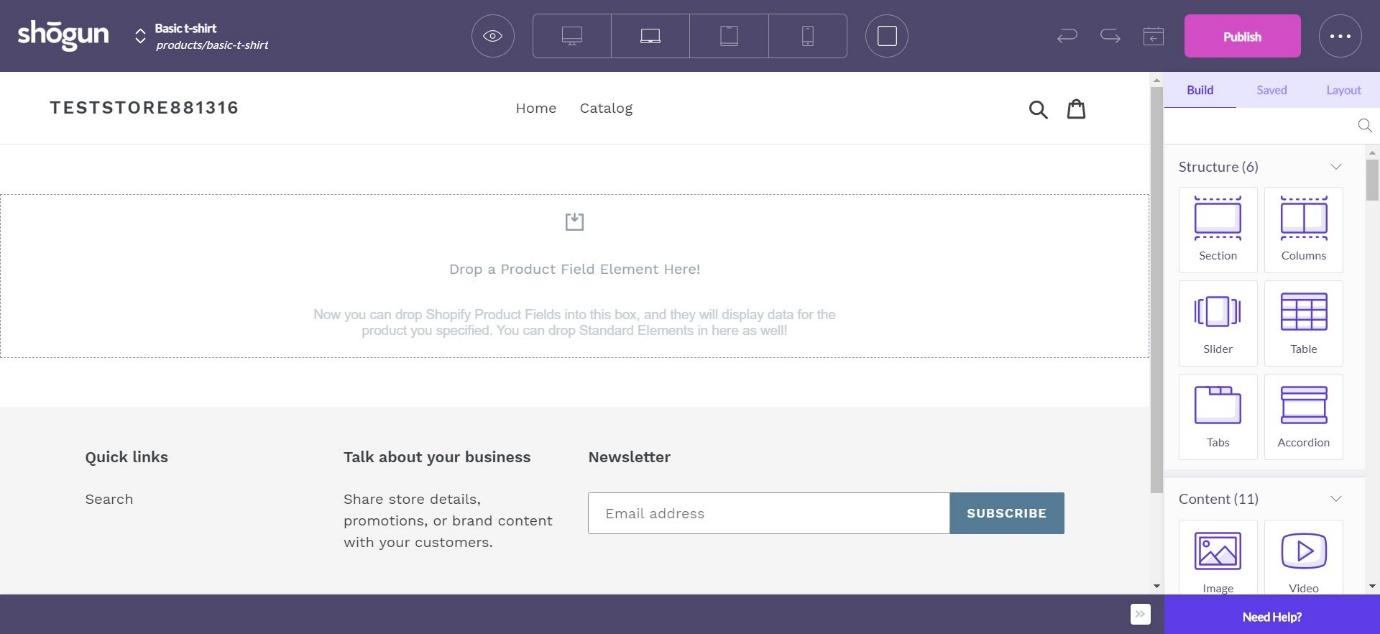
You can then drag a Product Field Element onto the page (for example, a product image). You can add:
- Product Title
- Product Image
- Product Price
- Product Variant
- Product Quantity
- Product Add to Cart
- Product Reviews
Each section is fully customizable – for example, you can change the font and size of the product title, adjust the size and alignment of the product image, etc. It allows for so much more customization than you can get with Shopify alone. You can also add more elements to your page:
- Images
- Videos
- Headings
- Text
- Buttons
- Icons
- Countdowns
- Separators
- Forms
- Maps
- HTML
You can play around with the structure of the page using structural blocks. For example, if you wanted to add a carousel of images and text, you can pick ‘Slider’ and drag it onto the page, then edit each ‘slide’:
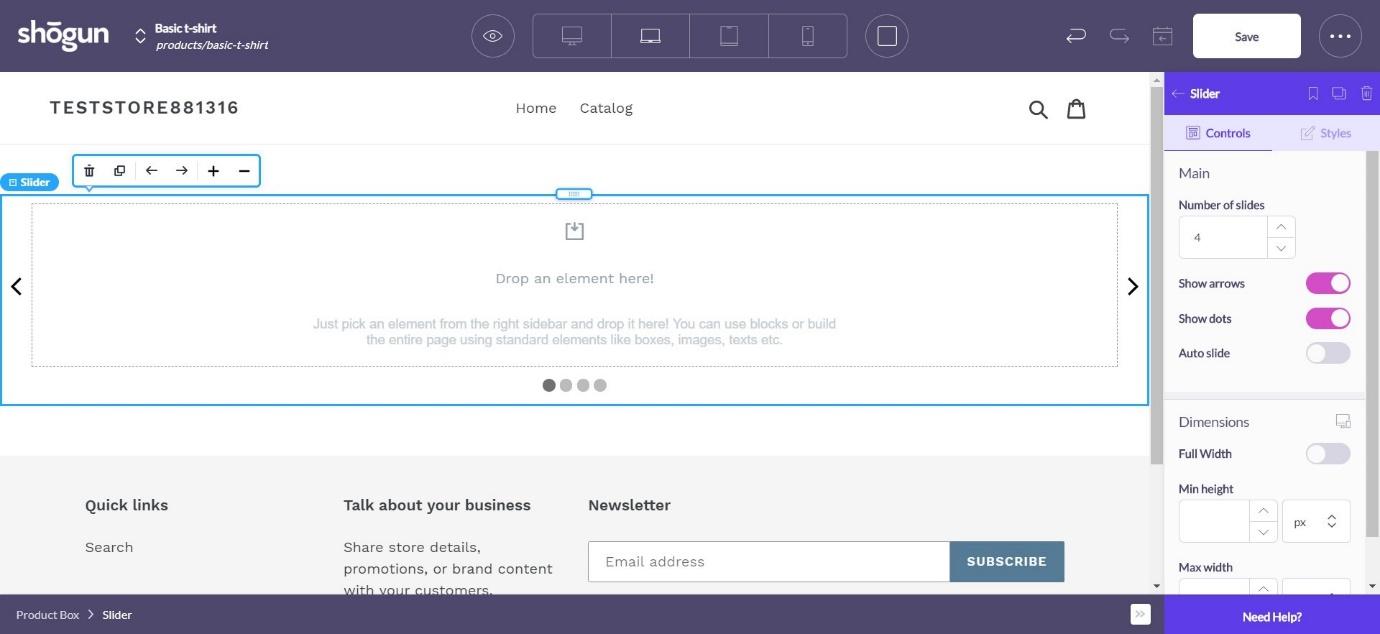
This will create a rotating carousel to which you can add images and text.
However, if all this seems too daunting, you do have the option of just editing the product page you already created using Shopify.
[thrive_leads id=’36837′]
Customizing Shopify Product Page
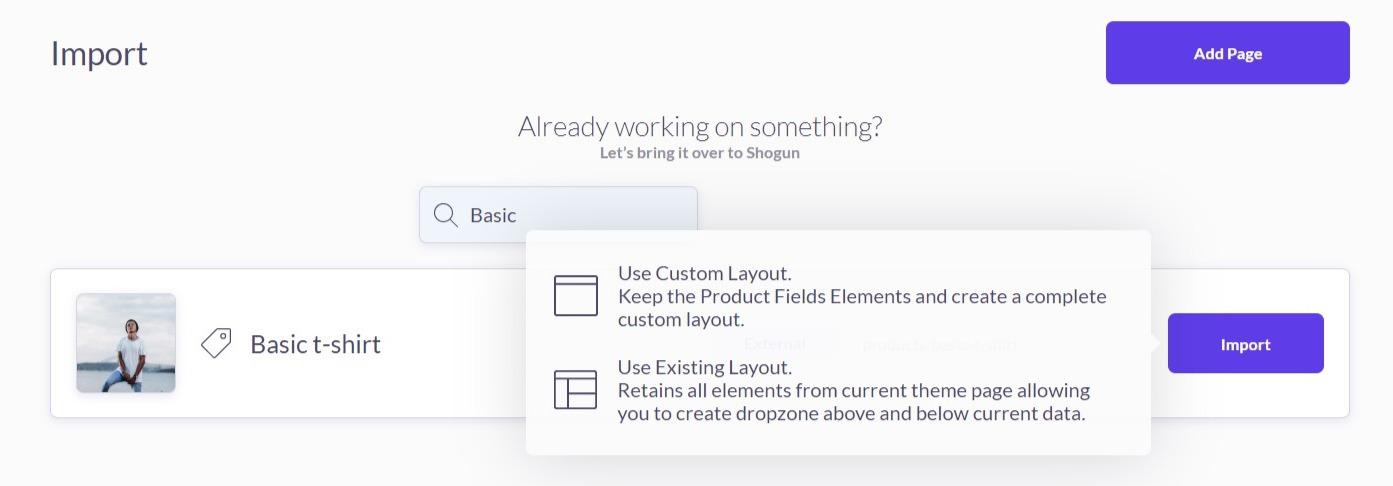
Back on the Shogun homepage, click ‘import’ to find your product. You can pick from two options.
Use Existing Layout imports a product page that you already created on Shopify and keeps the content exactly the same. It does allow you to add new page elements above or below the content you already created.
Use Custom Layout allows you to start again from scratch with your existing product page.
Shogun shows you exactly how your page will look on different types of devices – you can switch between device type using the options in the middle of the purple bar at the top of the screen.
Step Three: Publish Your Page
Clicking the three dots next to ‘Publish’ on the right-hand side will bring up a small menu:
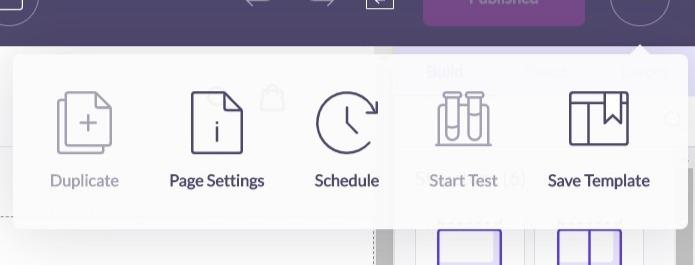
On the higher price plan, Shogun allows you to schedule the publication of your pages, duplicate pages and run split tests. As we’re testing out the basic plan, we don’t have access to those. You can see, however, where you can find page settings, which brings up this menu:
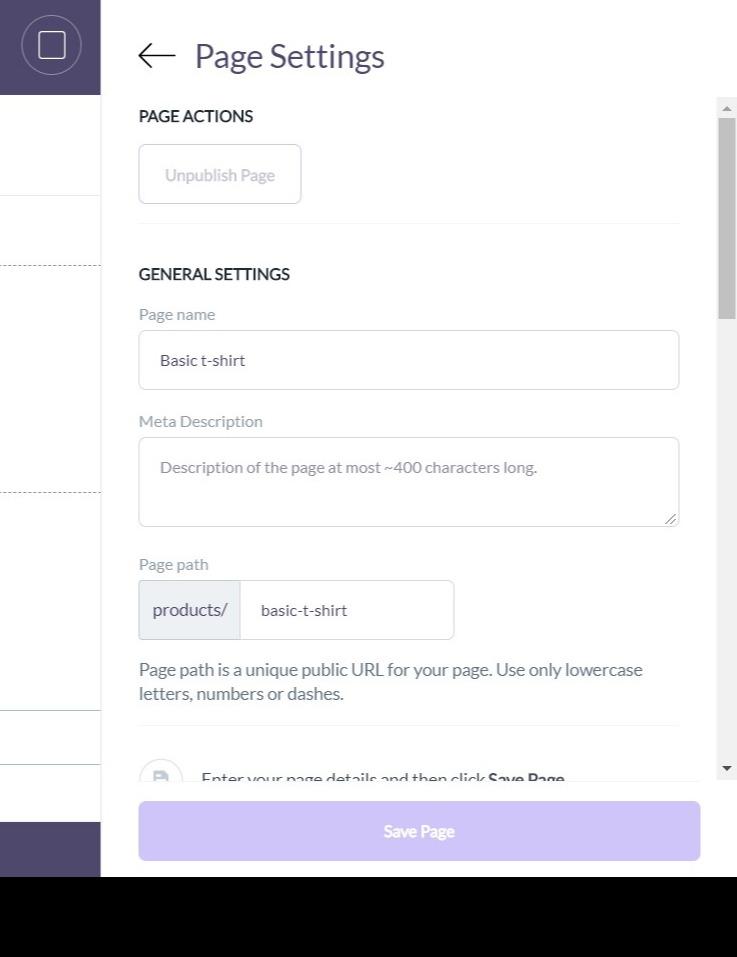
Here you can edit basic information about your page, including page name, page path, and meta description. These basic steps will improve your product page’s visibility on search engines, so it’s important to spend a little time here.
Once you’re done with this, you’re ready to go!
Click ‘Publish’, and your product page will go live.
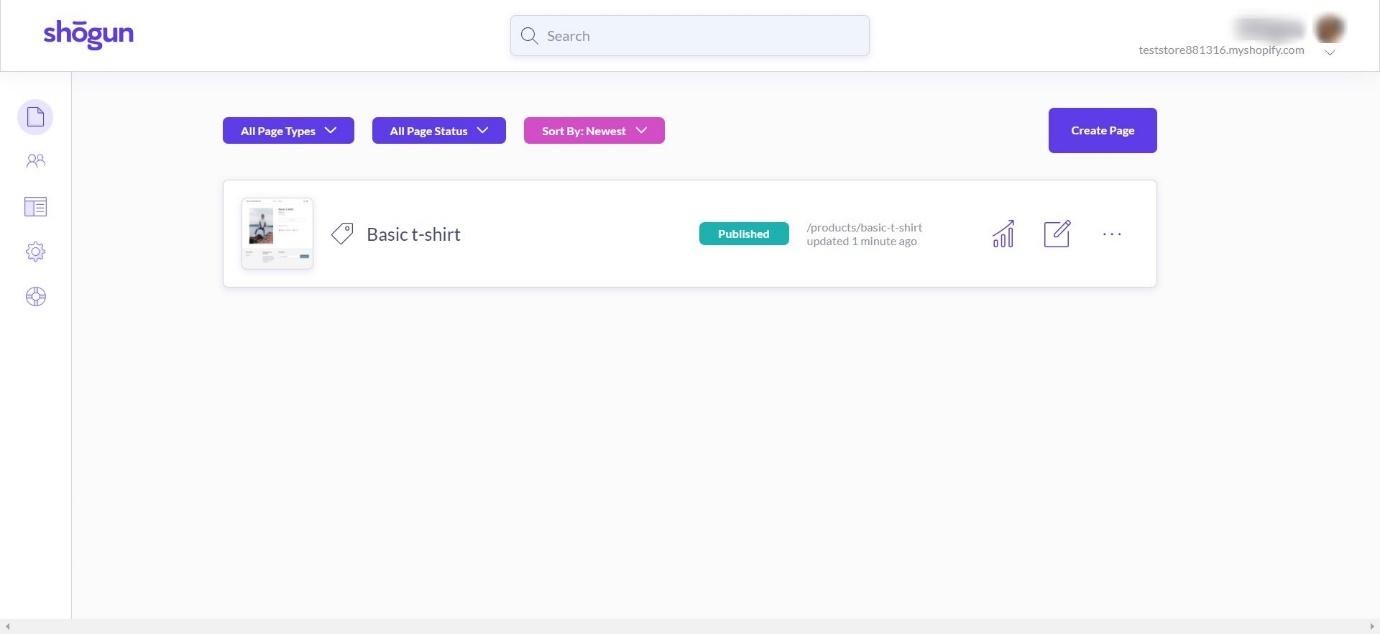
Going to Shogun’s dashboard will give you an overview of your pages:
Clicking the three dots next to your product page will bring up a few options:
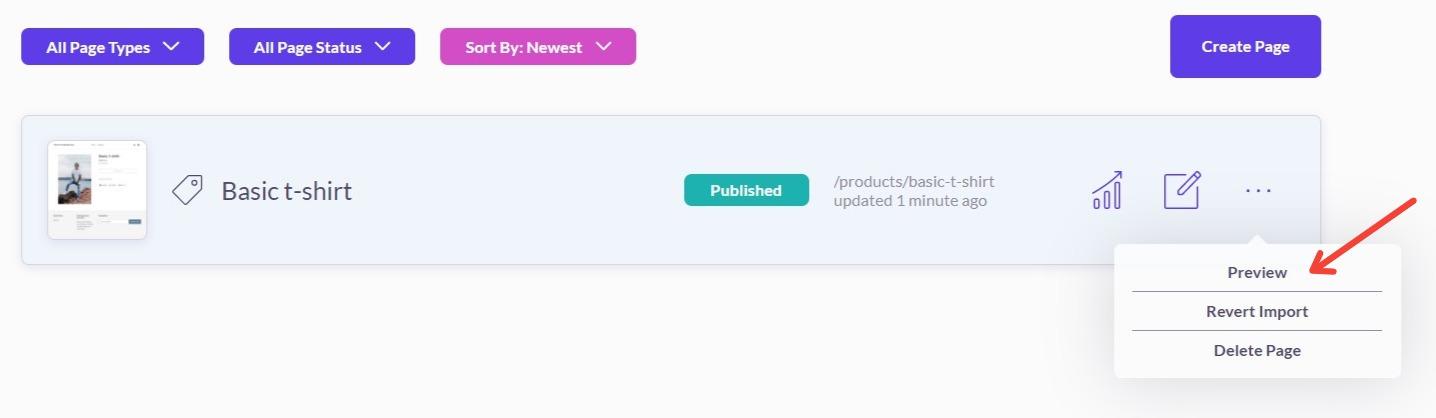
Clicking ‘preview’ will bring up your product page, so you can see how it looks to a potential customer. If you’re not completely happy with it, you can go back and edit it at any time.
Other page building apps work similarly – it’s worth checking them out if you want to be able to customize each product page individually.
[thrive_leads id=’36837′]
Frequently Asked Questions
No, Shopify is a platform that allows you to create your online store and sell almost anything you want, from personal care products to services and even tickets. This means that you need to have a previous business plan or at least an idea of the kind of product/service you want to offer.
One of the many tools that Shopify offers is the possibility to customize the products that you are selling. Keep in mind that after the product is published, you can only customize it in the Shopify admin. There you can change the product title, description, product type, vendor, collections, tags, images, and variants. Check out our guide on the best page builders to customize your store!
Conclusion
As you can see, much of the work that goes into creating a product page begins at the ‘add product’ stage. The images and words you use to sell the product to your customer will make a big difference. Shopify have a great range of free themes to choose from, and the product pages included in these themes are great – crisp, clean, and well-designed, they’re simple to navigate and allow the product to speak for itself.
However, if you do want to be able to fully customize your pages, but you don’t know code, a third-party app is a great idea. Being able to drag and drop page elements wherever you like allows you total control over each product – which Shopify alone doesn’t give you. So, if you want to have more customization, paying a little extra each month for an app like Shogun could be a great choice for you.
Either way, it’s pretty simple to set up a product page using Shopify. Good luck!
Further read:
I appreciate you for sharing this post with us. It’s very well explained and gives a great understanding.